
A maze is a simple puzzle where you try to find your way from the beginning to the end. Completing a maze tests your memory, problem-solving skills, and patience. Coding does the same! Both require having to think logically and in order.
In this tutorial, you will learn an easy and fun way to code a maze game in Scratch where you control the player with your arrow keys. As a bonus, you will also learn how to animate your character.
Complete this tutorial to code a maze Scratch!
We can break down this game into 3 main components:
1. The maze: A drawing of a maze obstacle players have to avoid and make their way through.
- Draw the maze
2. The player: the player, the penguin, moves around the maze and returns to the beginning when they touch the edge.
- Add and position the player
- Move the player around the maze
- Detect player collision with the maze
3. The goal: the goal, the winter hat, is placed at the end of the maze and the player wins when they reach the goal.
- Add and position the goal
- Detect player collision with the goal
Steps to Make a Maze Game in Scratch
tep 1: Create a New Scratch project
First, we need to set up a new project in Scratch where we will edit our code.
- Visit scratch.mit.edu
- Login to your Scratch account
- Click on the Create button
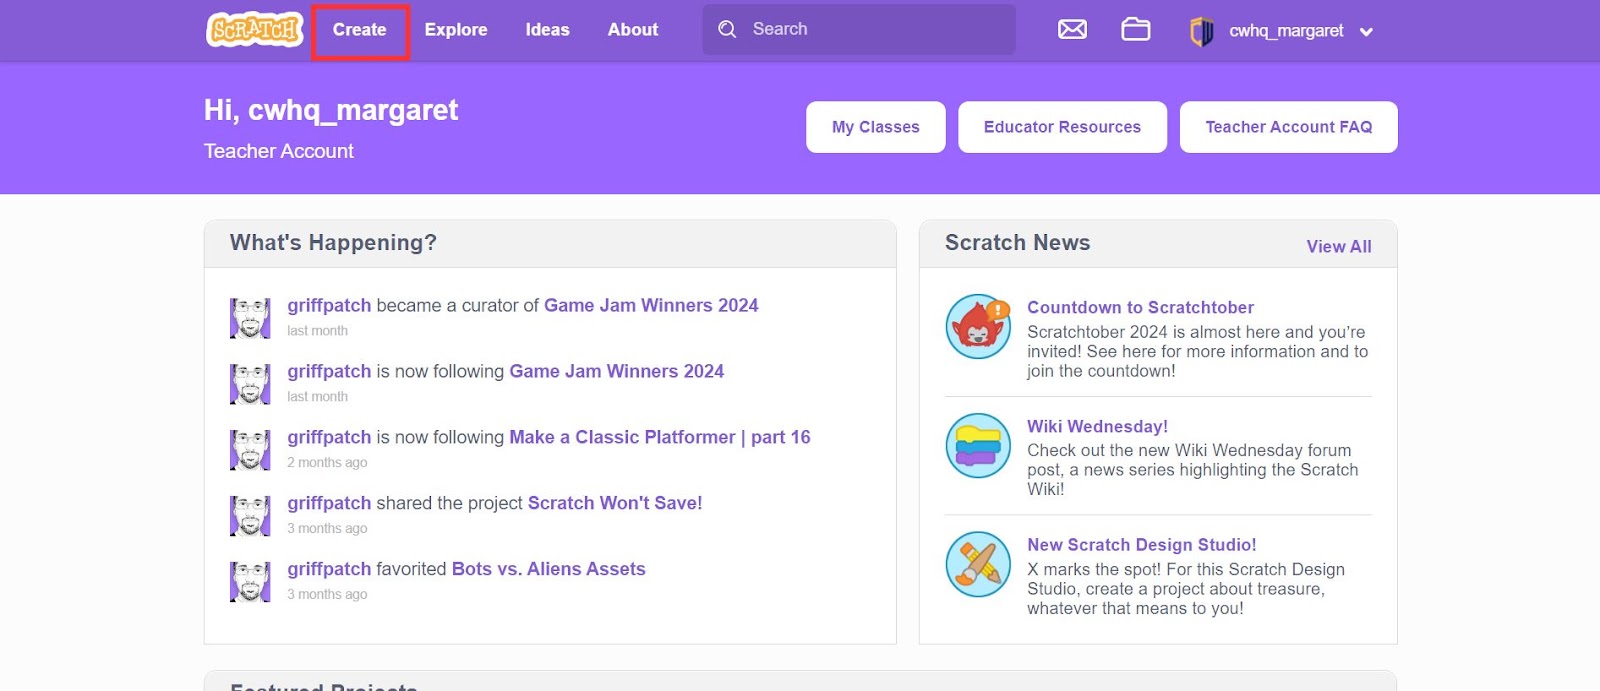
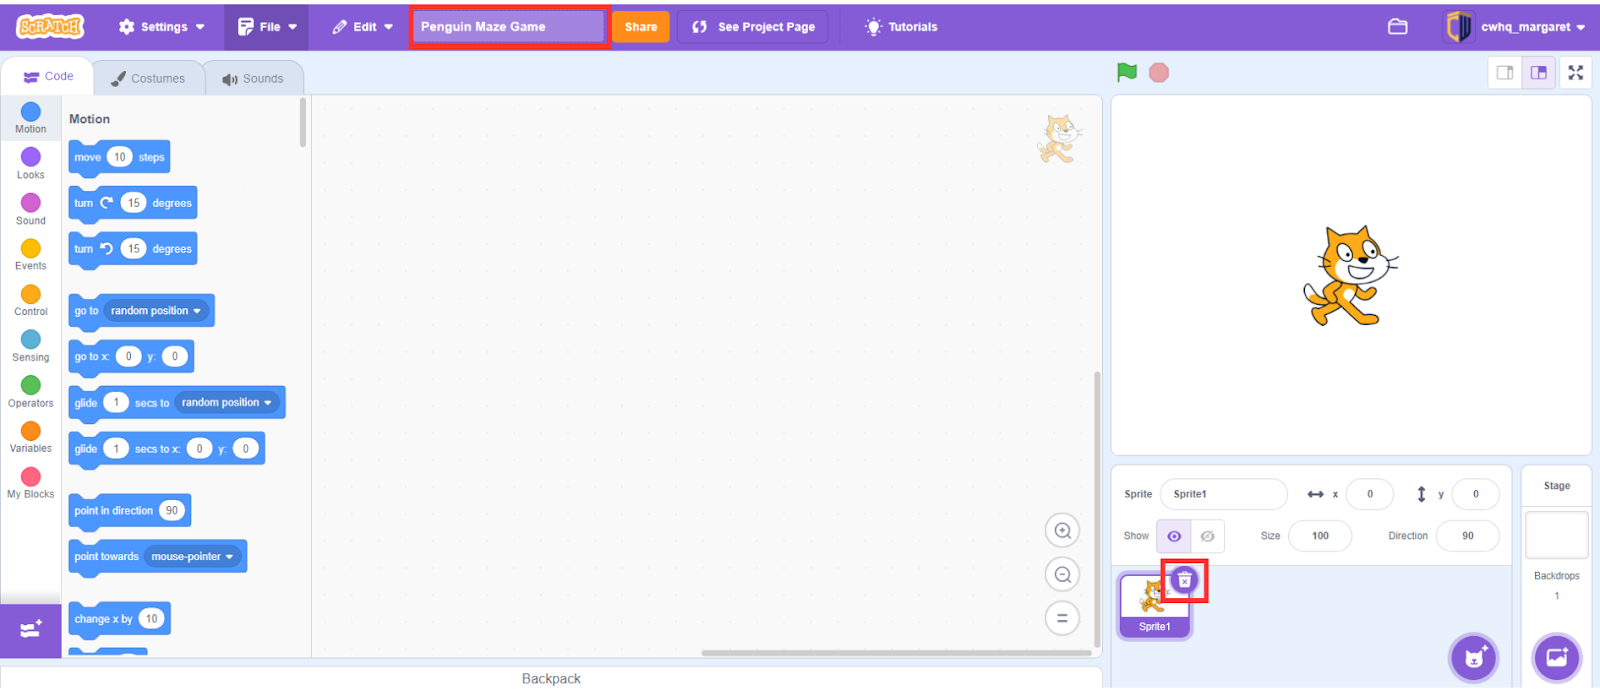
- A new project will open, rename your project to Penguin Maze Game
- Hover over the cat sprite and click the trash can to delete it
Now we have a fresh new project to code our maze game!
Hint: You can also remix the Penguin Maze project to see the completed code.
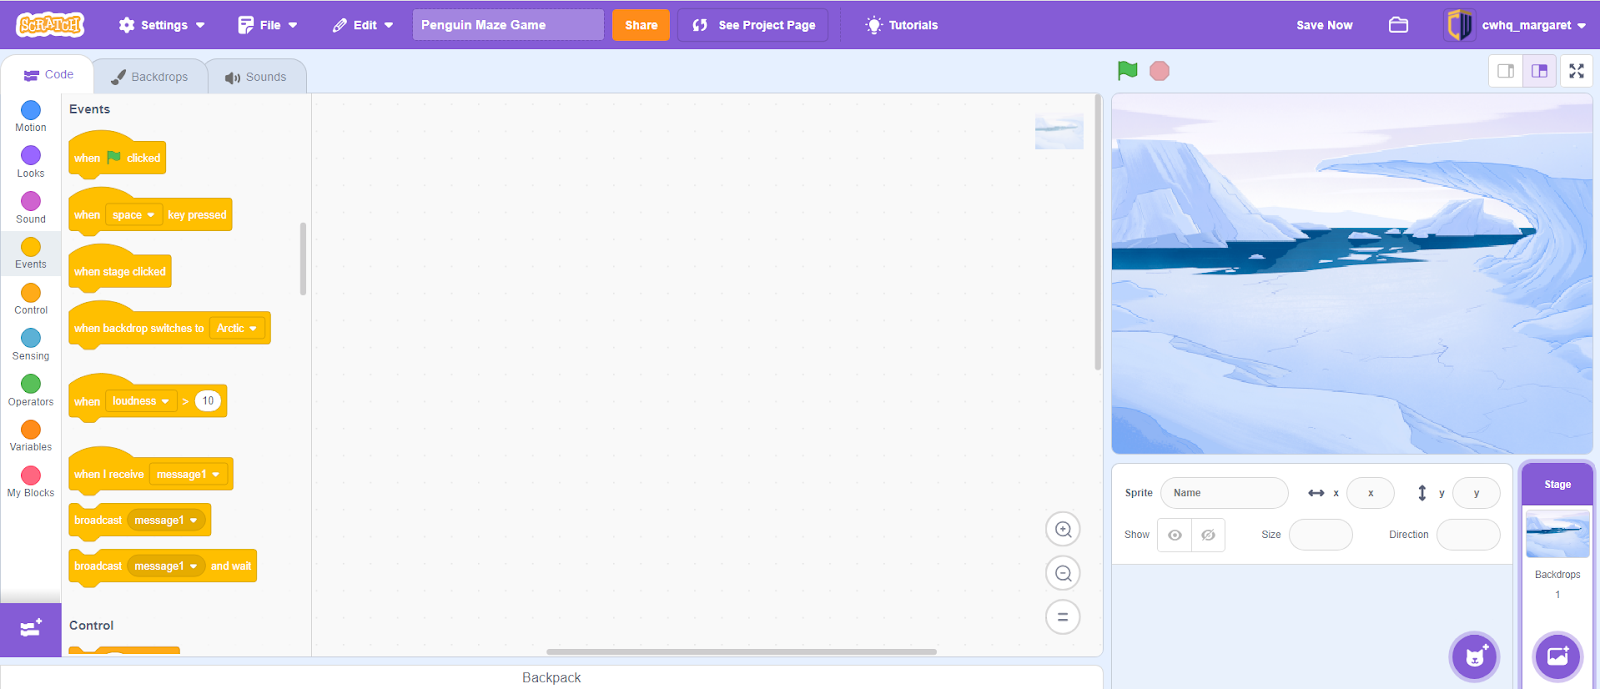
Step 2: Add a Backdrop
Set the stage for your game by adding a background image.
- Click the Choose a Backdrop button
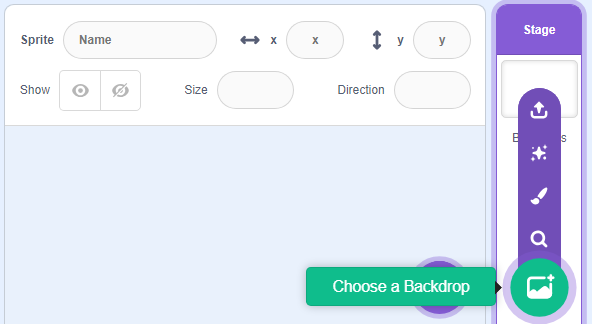
- Select the Arctic backdrop
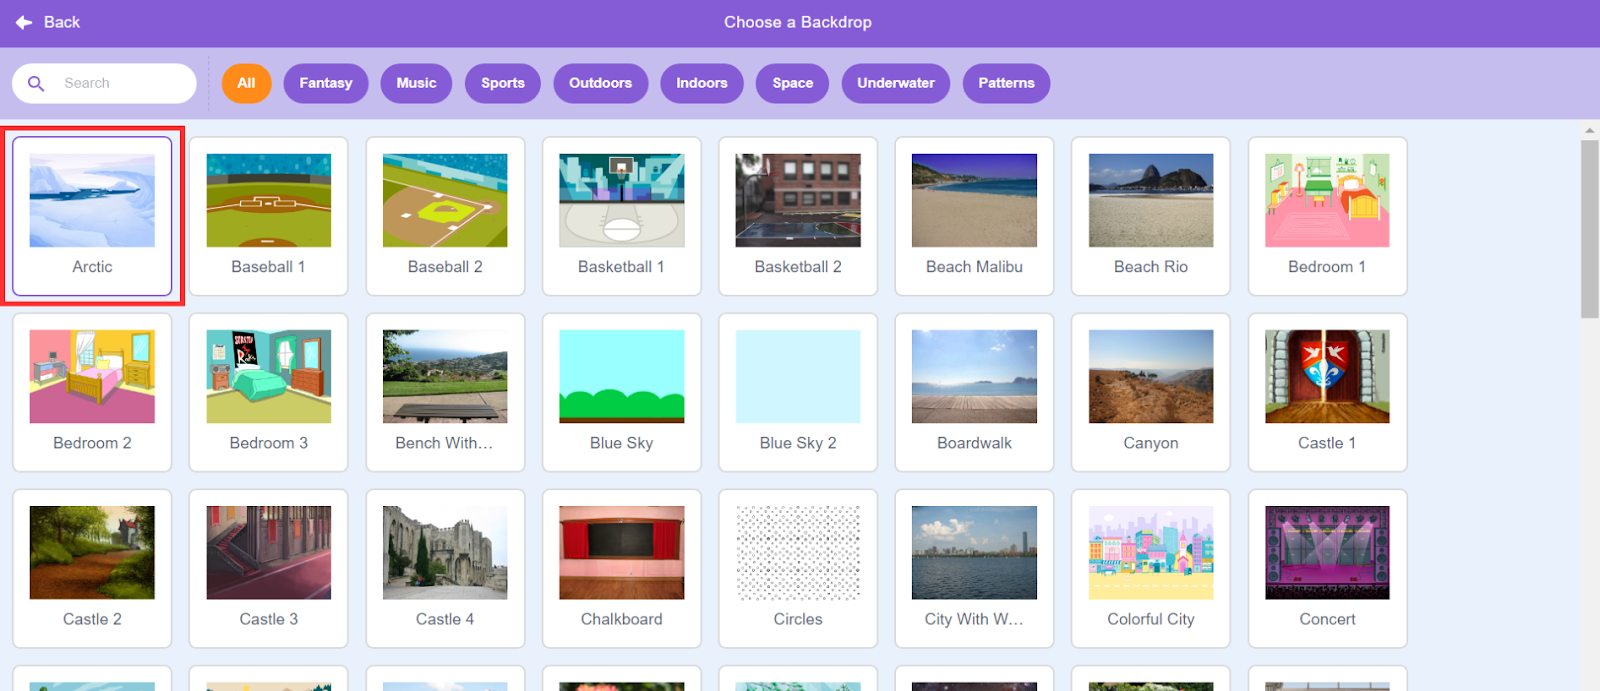
You should now see the backdrop in your preview area.
Hint: Get creative and select a backdrop that matches your theme. You can also select Surprise to let Scratch choose for you.
Step 3: Draw the maze
A maze is simple to draw with just horizontal and vertical lines. We’ll draw our own maze, make sure you leave enough room for your player to get through.
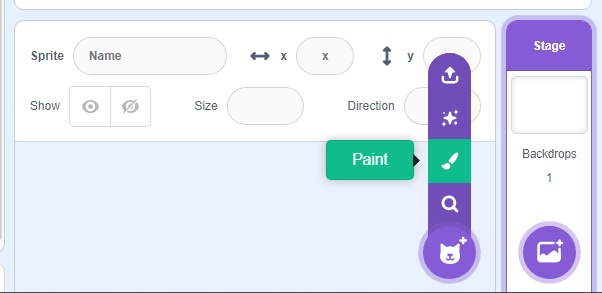
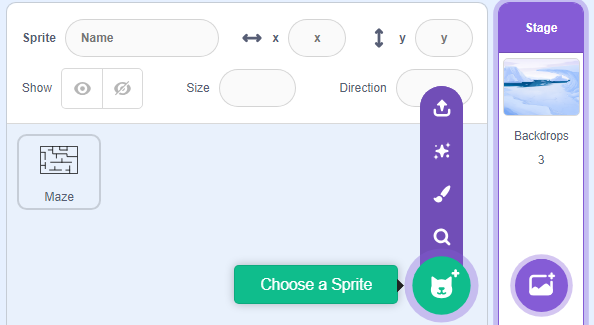
- Hover over the choose a sprite button, select Paint
- Click on the line icon
- Select an outline color and change the size of your lines to 20
- Click and drag lines to represent the maze. Adjust it to fit the game preview.
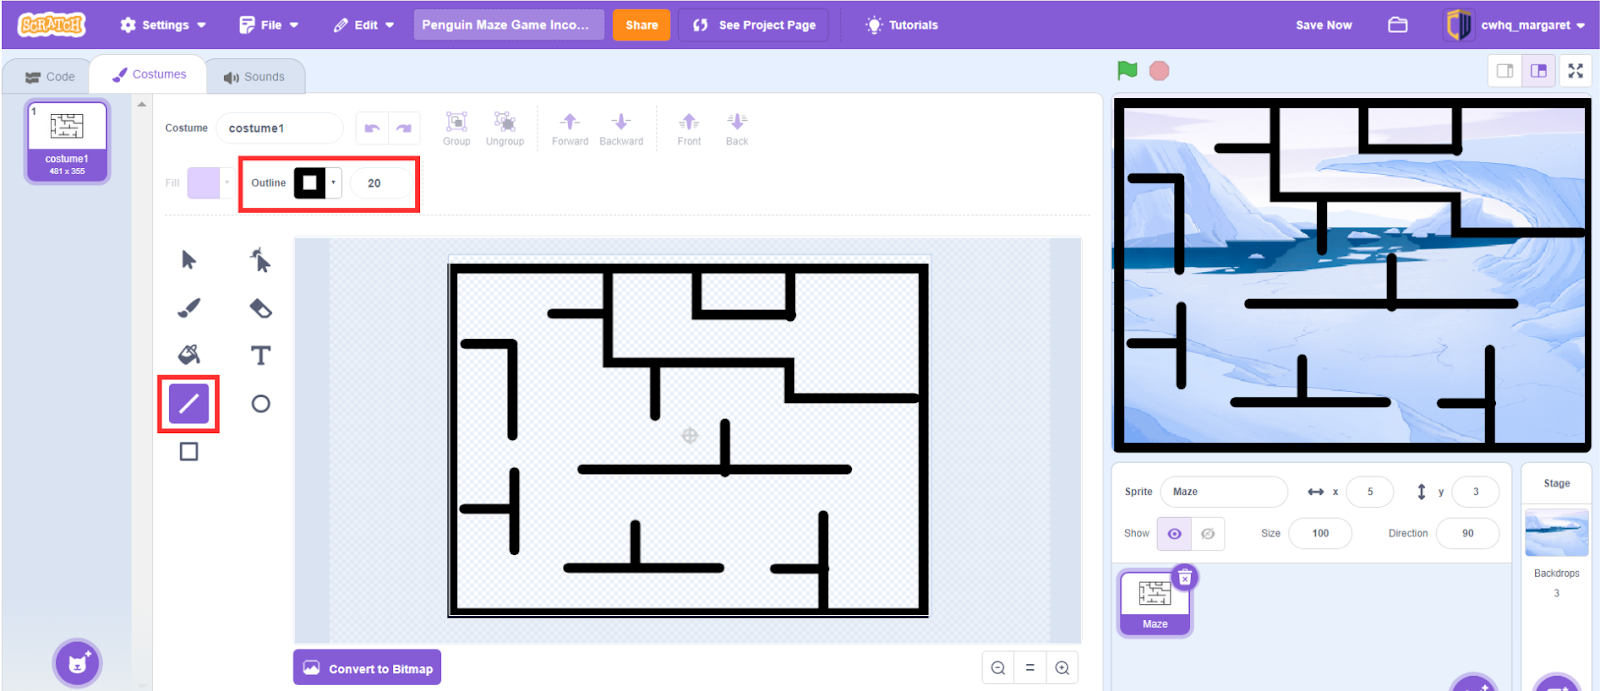
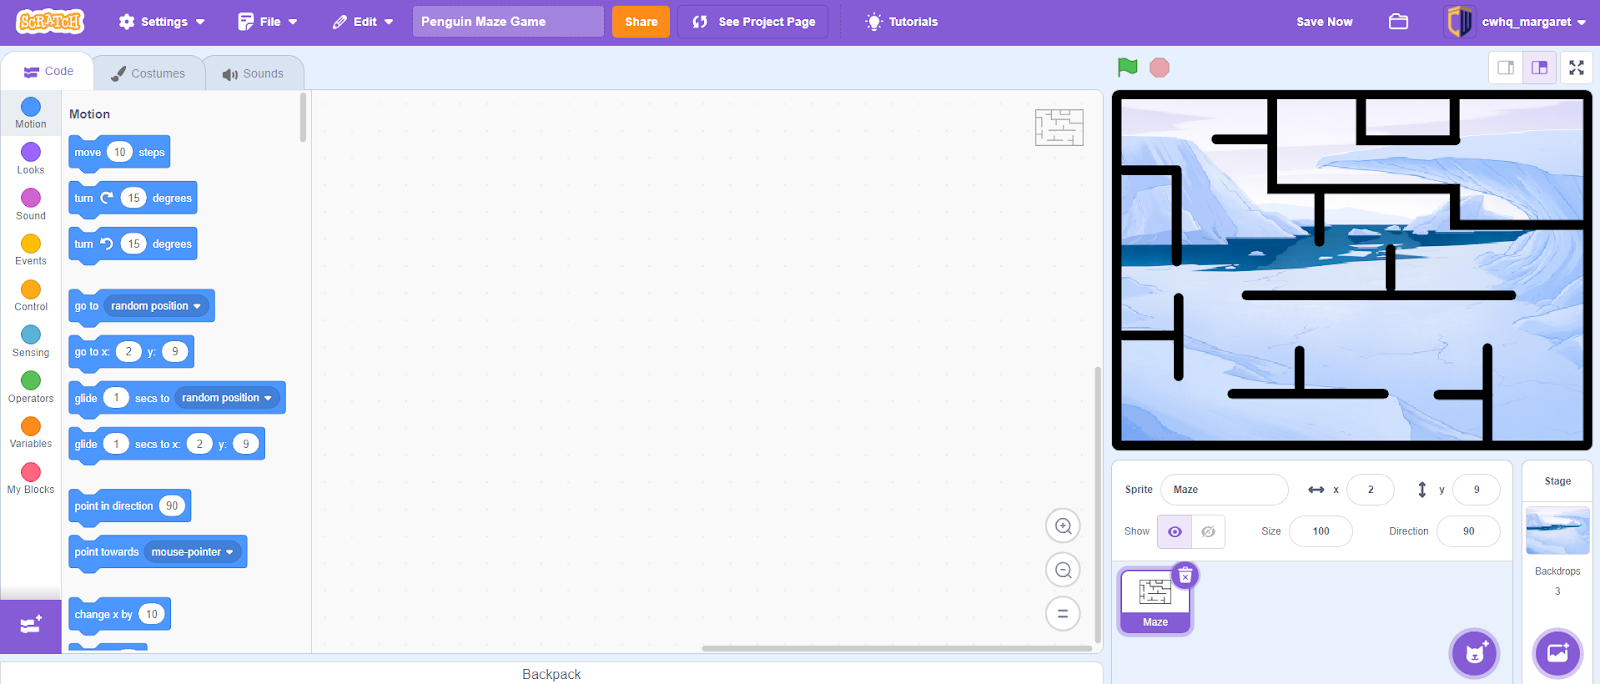
- Click the Code tab and rename the sprite to Maze.
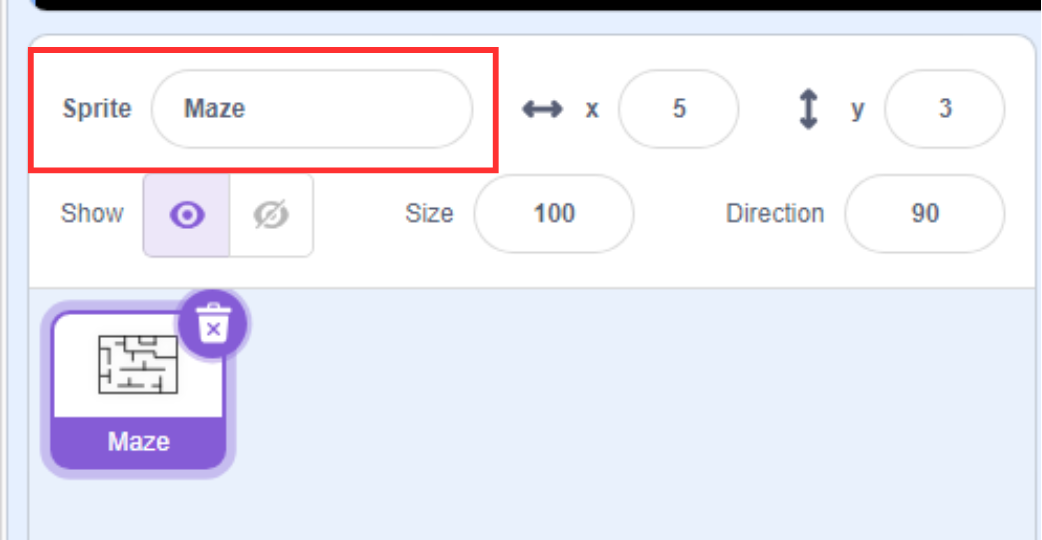
Do you see your maze in the preview screen like this? Great!
Hint: You can make the maze as easy or hard as you want. Add more lines and dead ends to make the maze harder.
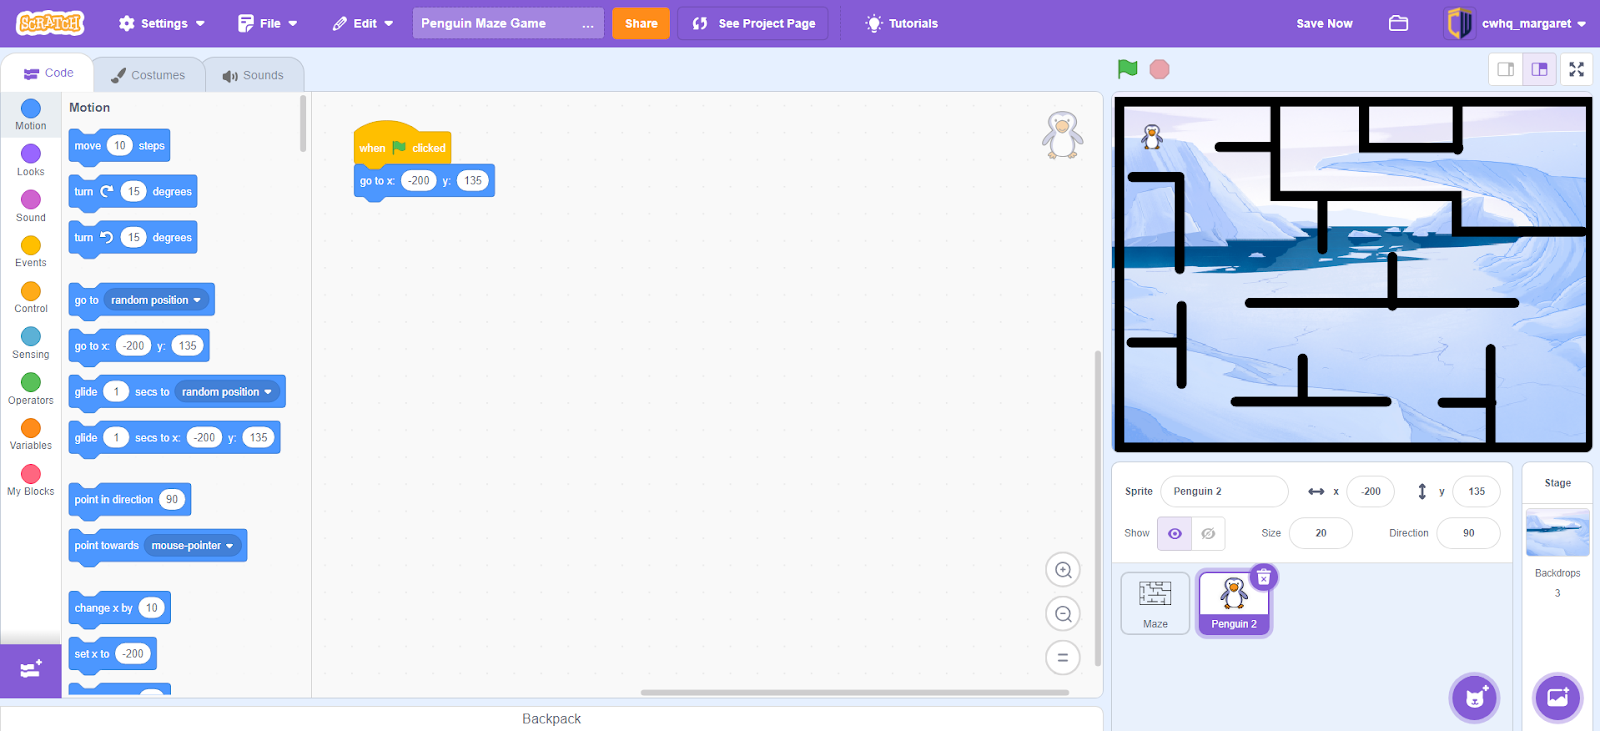
Step 4: Add and position the player
We want to add our player, the penguin. The penguin is going to start at the top left every time the game starts. Before we move the penguin, position it at the top with our code.
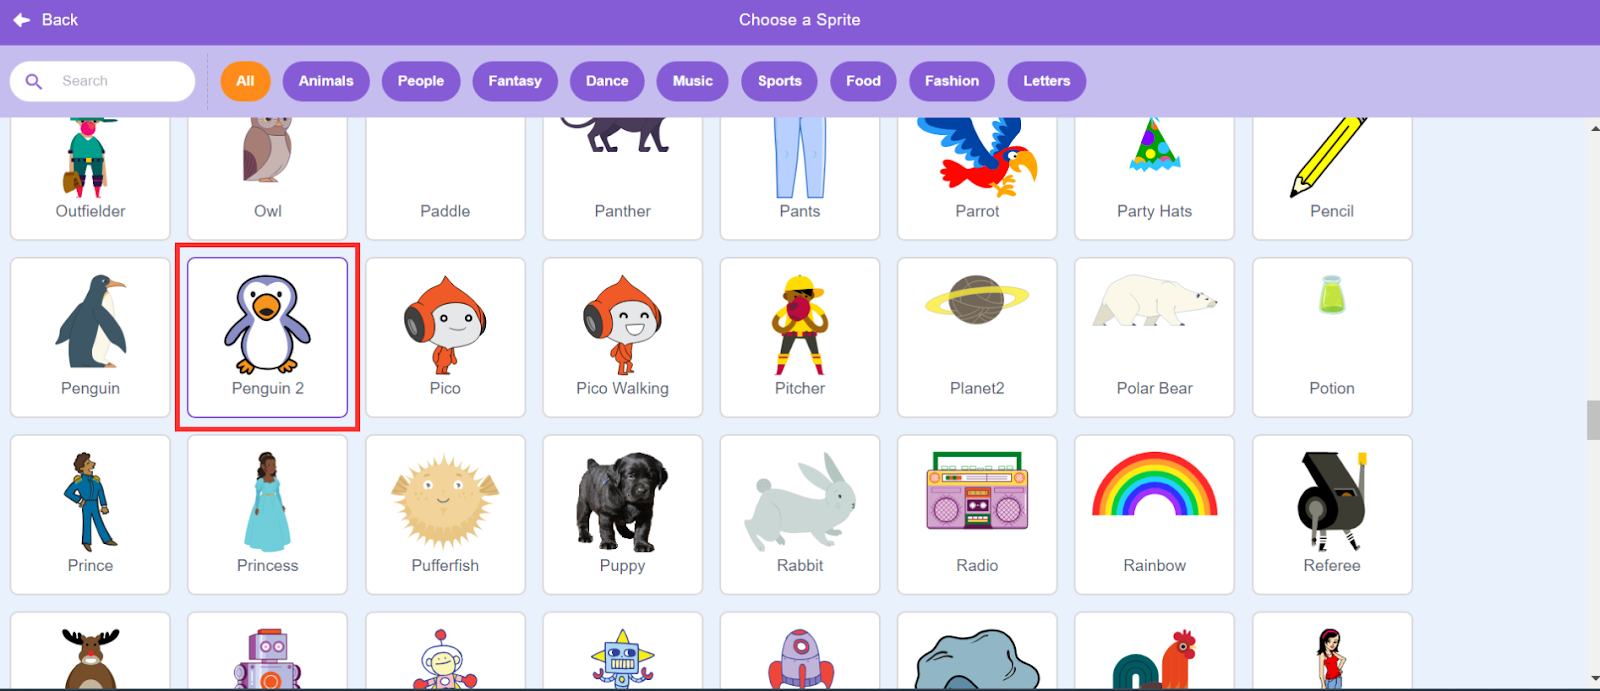
- Click the Choose a Sprite button in the right corner
- Select the Penguin 2 sprite from the library
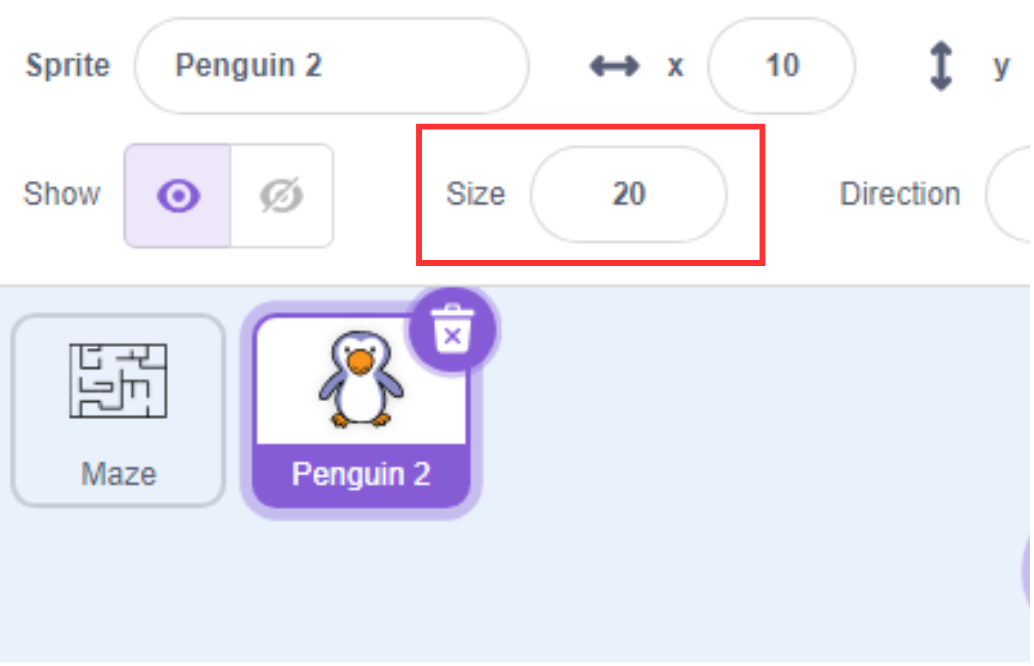
- Change the size to fit your maze, my penguin is 20.
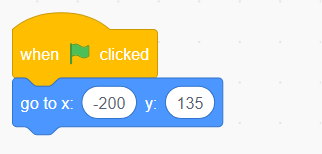
Next, add this code to the penguin so that it goes to the starting position every time the game starts.
- Add a When green flag clicked block from events category.
- Add Go to x y position block from motion category. Use the x and y value of your sprite at the starting position.
Now, try moving your player away from the starting position. When you click the green flag, it should return there. If your test works, you’re ready for the next step.
Hint: You can get creative and draw your own sprite, just hover over the add a sprite button and go up to Paint.
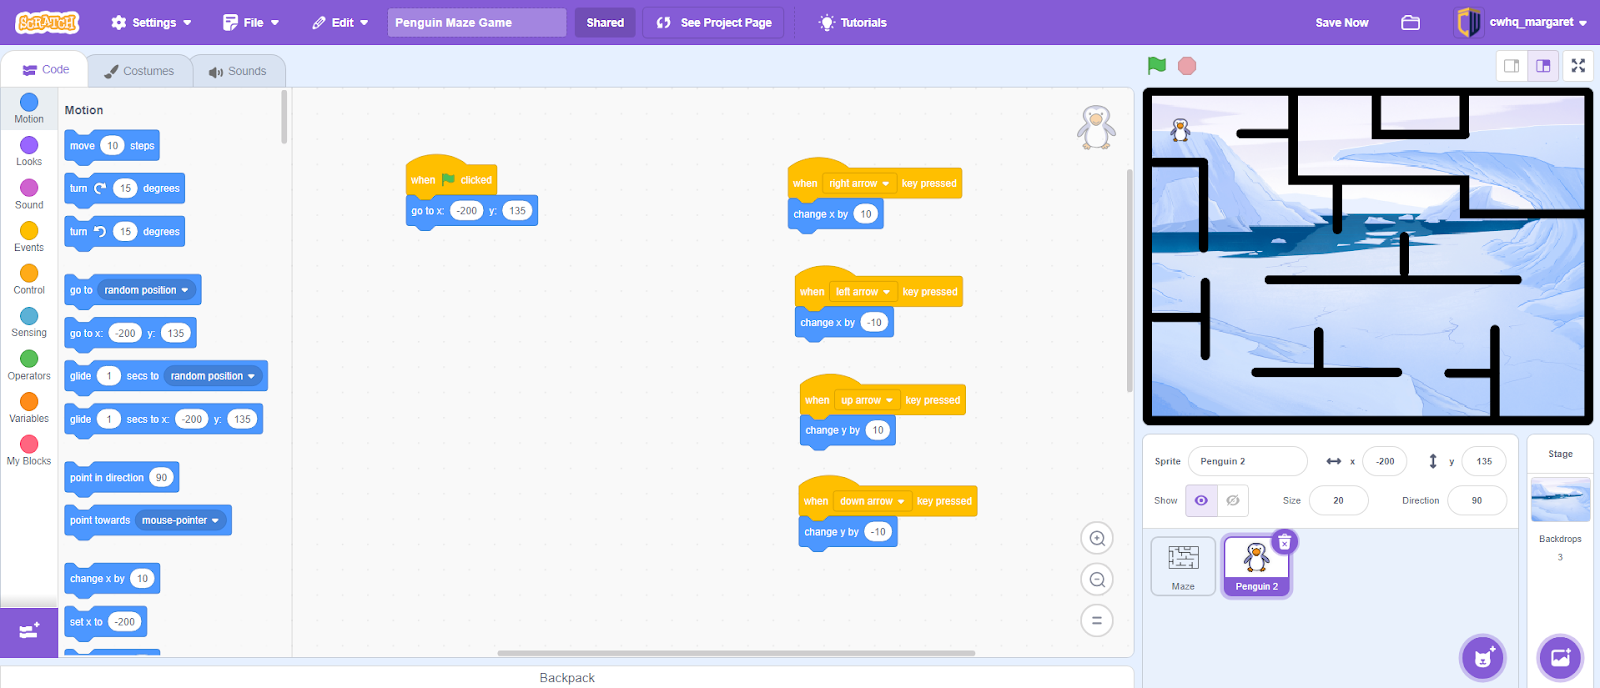
Step 5: Move the player around the maze
The penguin is on the screen, but he can’t move. The penguin needs to move up, down, right, and left when we press the arrow keys. We need to control him with the arrow keys.
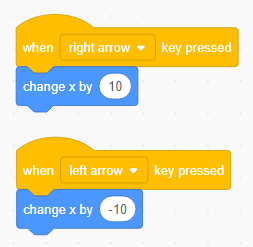
Let’s add the logic to the arrow keys. To move the sprite right and left, add this code:
- In the Events category, add When right arrow key pressed block
- Add a Change x by block from the motion category and change the value to 10
- Right click on When key pressed block and Duplicate the entire code block
- Then change the dropdown to When left arrow key pressed and change x by to -10
To move the sprite up and down, add this code:
- In the Events category, add When right arrow key pressed block
- Add a Change y by block from the motion category and change the value to 10
- Right click on When key pressed block and Duplicate the entire code block
- Then change the dropdown to When left arrow key pressed and change x by to -10

Your penguin can move now! Try pressing the arrow keys and make sure the penguin is moving in the right direction.
Hint: To move the player faster or slower, change the x and y values.
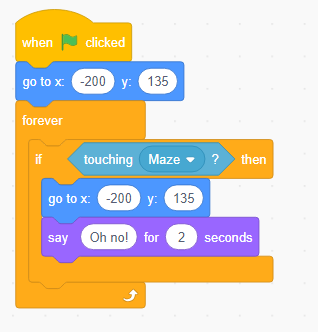
Step 6: Detect player collision with the maze
We need to code what happens when the player touches the maze. The penguin should say ‘Oh no!’ and go back to the starting position.
- On the player sprite, add a Forever block.
- Inside the Forever block, add an If then block
- From the sensing category, add the Touching block inside the if then block. Change the dropdown to the Maze sprite.
- From the looks category, add a say block and update the message to “Oh no!”
- Finally, add a go to block and use the same x y position as the starting position
Now, you can try touching the maze with your player sprite. Does it return to the starting position?
It’s working, let’s keep going!
Hint: You can customize the message your sprites says or change what happens after the sprites touch.
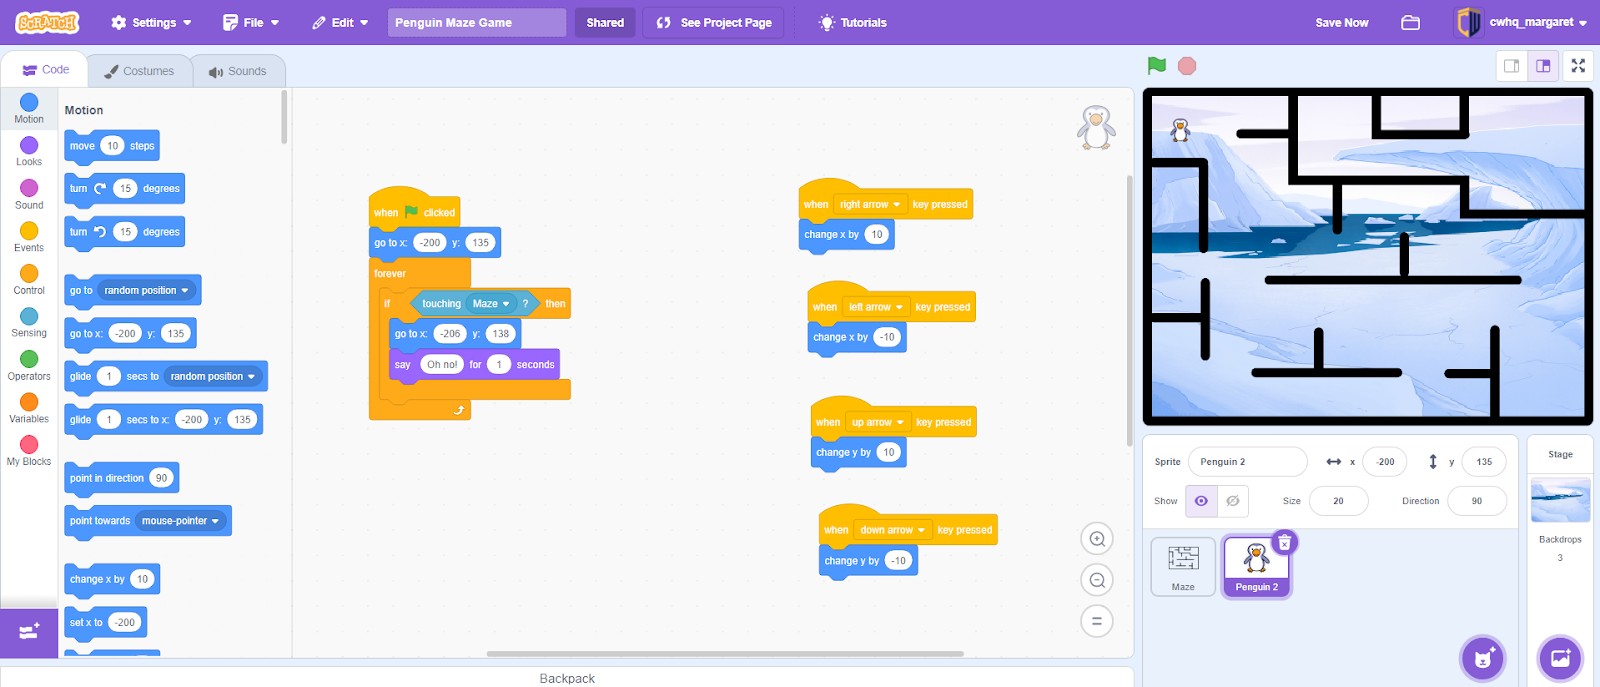
Step 7: Add and position the goal
Our player is in place and can move around the maze. Now, let’s place the goal at the end of the maze.
- Click the Choose a Sprite button in the right corner
- Select a sprite from the library. I’m using one from the Scratch library called Winter Hat.
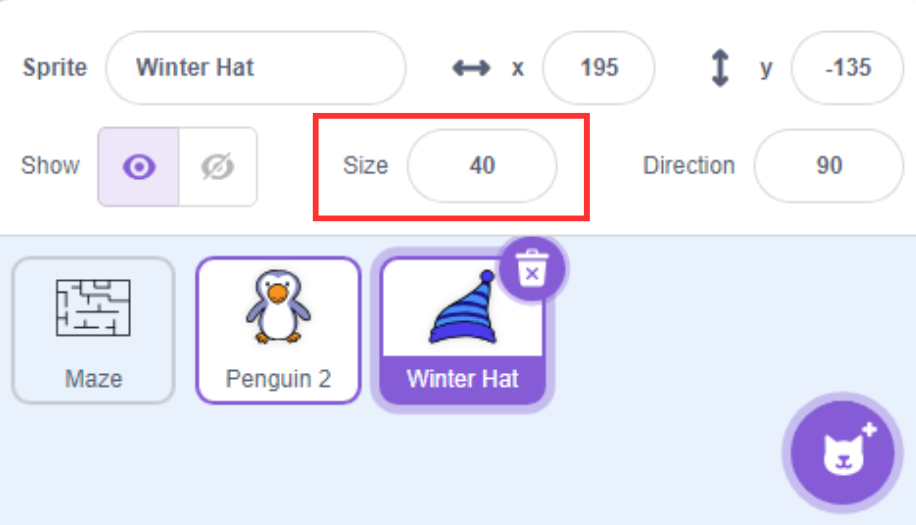
- Change the size to fit your maze. Mine is size 40.
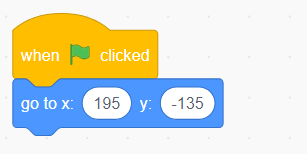
- Add a “when green flag clicked” block
- In the preview, position the hat at the end of the maze. Then add a Go to x y position block using those coordinates. Mine is positioned at x = 195 and y = -135.
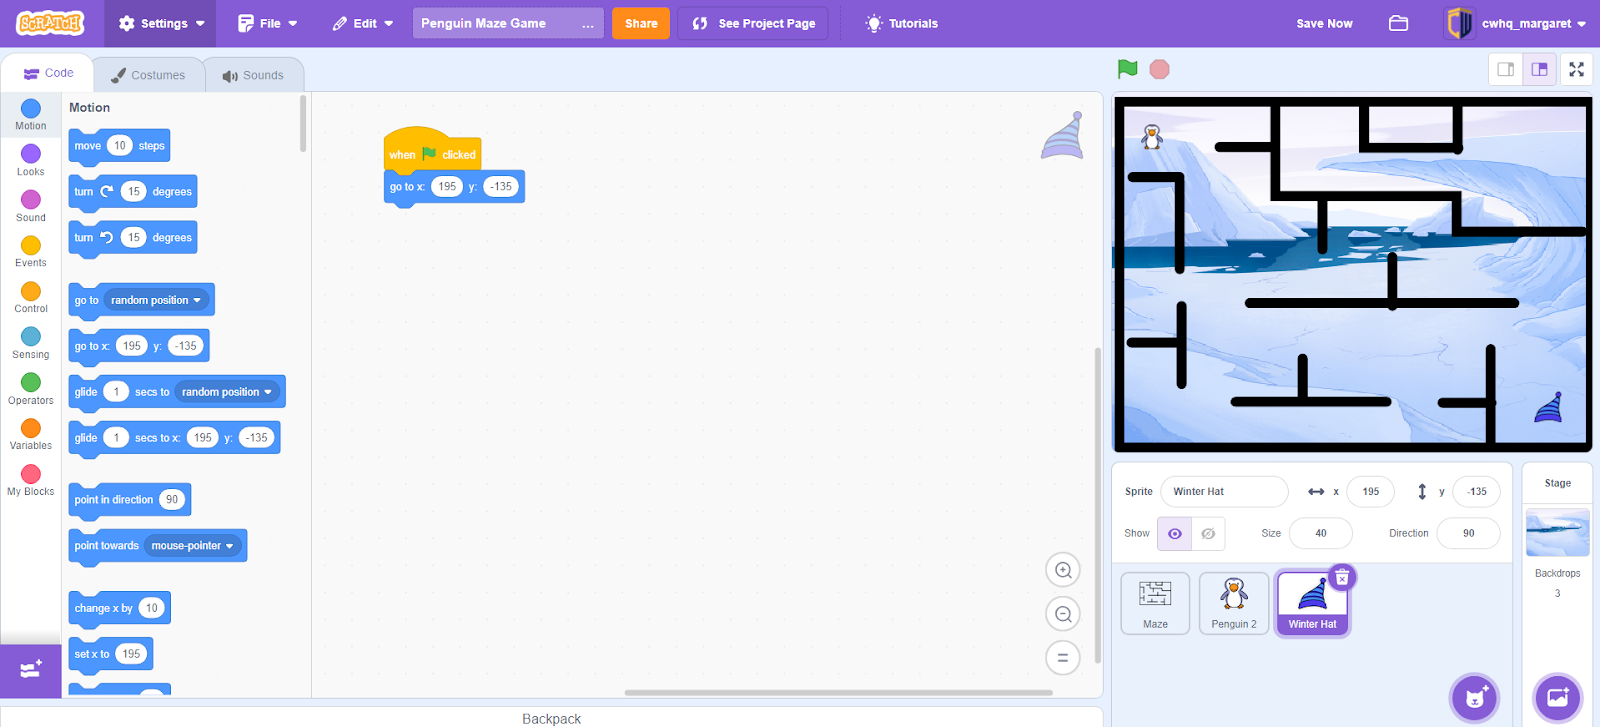
Once you’re done, click the green flag to test your game. Your hat should go to the end of the maze when the green flag is clicked.
Hint: You can customize the goal sprite to fit your theme by drawing or uploading a sprite.
Step 8: Detect player collision with the goal
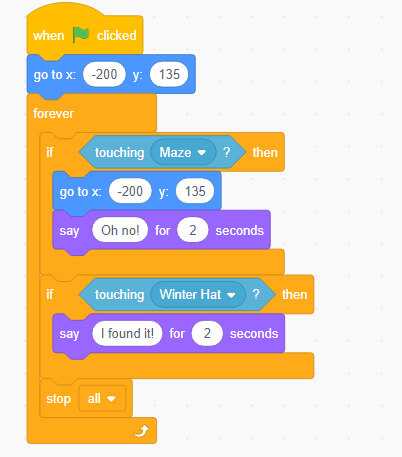
To win the game, the player needs to reach the goal. When the player teaches the goal, they say “I found it!” and the game ends.
- On the player sprite, inside the forever block, add an if then loop
- From the sensing category, add the Touching block inside the if then loop. Change the dropdown to “Winter Hat”
- Add say block and update the message to “I found it!”
- From the control category, add a stop all block to end the game

Hint: You don’t have the complete the maze to test your game. Just drag your character sprite to the end in your game preview.
Your maze game is complete! Play the maze game.
Click the green flag and give it a try. If you want to share it with other people and let them remix it, click the “Share” button at the top.
You can “see inside” the completed maze game to view the full Scratch code.
Challenge yourself by adding the bonus features to your maze.
Bonus: Animate the player
We can animate the penguin by making it look left and right when it moves. To do this, we’ll create a costume for each look.
1. Create the costumes
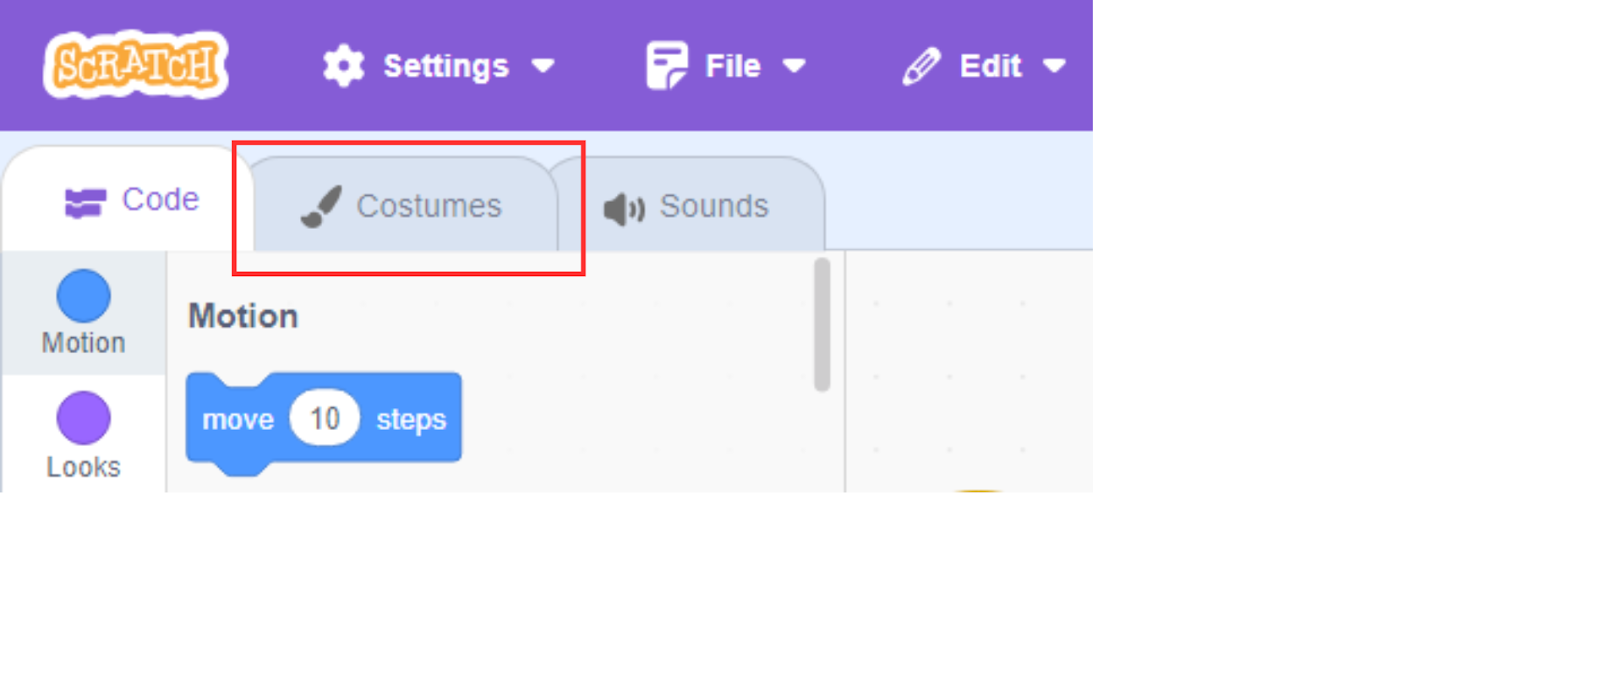
- Click on the costumes tab, you will see different poses for the penguin on the left
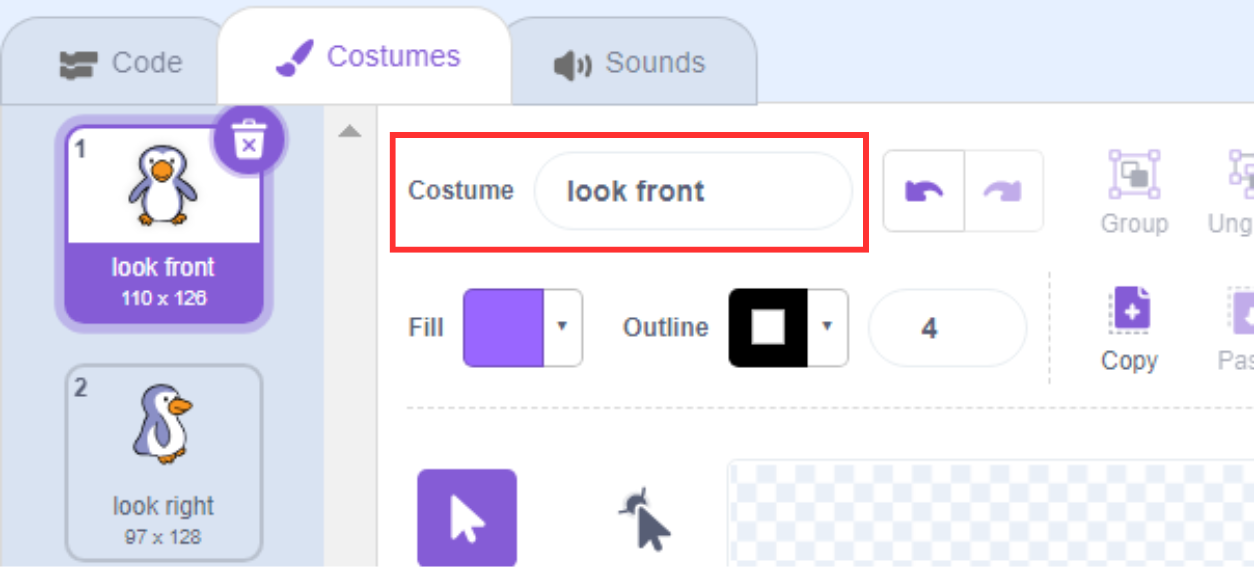
- Rename the first costume, penguin2-a to look front
- Rename the last costume, penguin2-d to look right
- To create a penguin looking left, right click and duplicate the look right costume
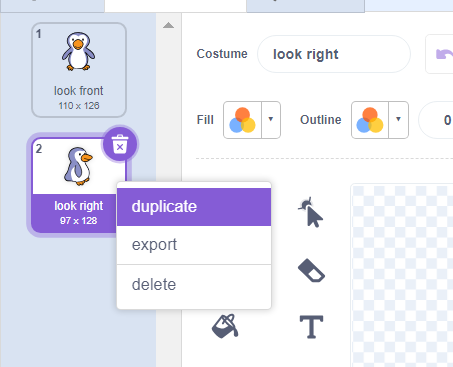
- Highlight the new costume in the paint canvas and click flip horizontal. You should now have a penguin looking left.
- Rename this new sprite to look left
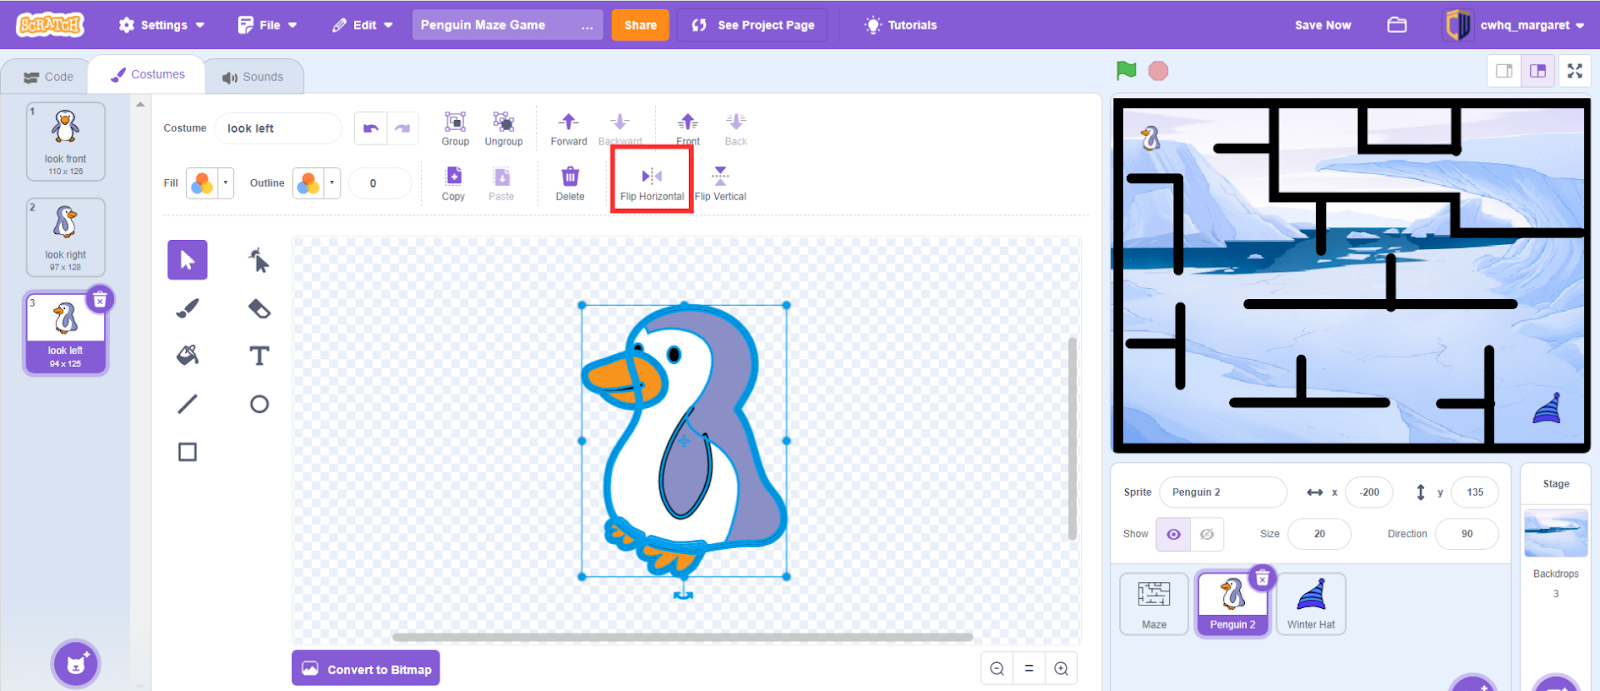
The final costumes will look like this:

Your penguin now has different costumes to show which direction he’s facing.
2. Change the costume with arrow keys
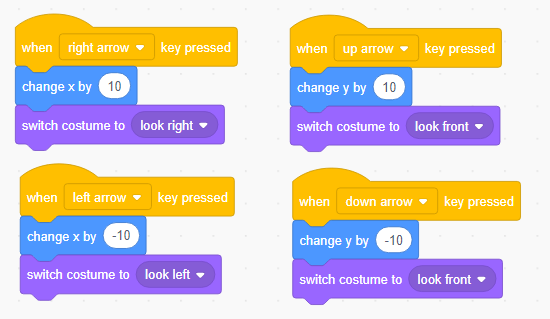
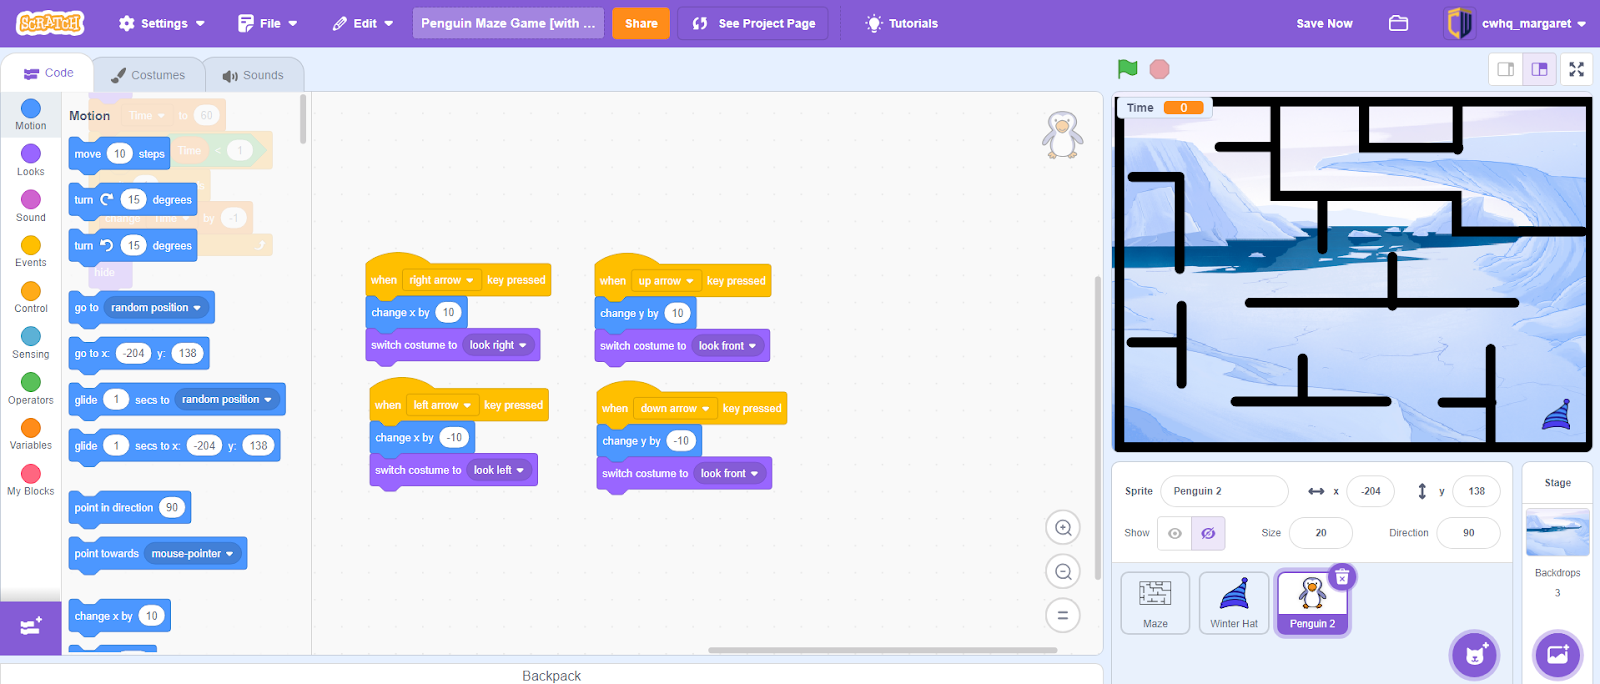
Go back to the Code tab to add code to the penguin sprite. Under each key press, we will switch the costume to match the direction the penguin is facing.
- Under the when right key pressed, add a switch costume to look right
- Under the when left key pressed, add a switch costume to look left
- Under the when up key pressed, add a switch costume to look front
- Under the when down key pressed, add a switch costume to look front
Try pressing the arrow keys and see if your penguin is facing the right direction.
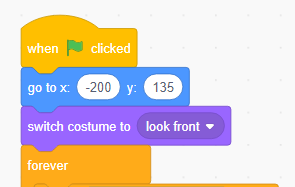
3. Set the costume when the game starts
But, when we press the green flag the penguin isn’t always facing forward.
- Under the when green flag clicked block, add a switch costume to look front
Start the game over by pressing the green flag. Your penguin should start looking forward, then look right or left depending on which direction it’s moving.
Now your penguin is animated to look like it’s walking.